Tables
Tables are used to clearly present data arranged in a grid of rows and columns. Tables are semantic structures and should be used exclusively for tabular content. Never use tables for layout purposes, such as positioning text side by side. For that, use the option for multi-column content. The content of the table must make sense in a linearized form and correspond to the actual reading order.
Table vs. list
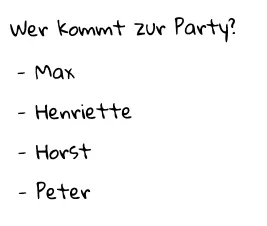
Often, very small tables are created even though the content would be better marked up as a list.
In most cases, a simple mental exercise can help determine whether content requires a tabular format: ask yourself how you would note the information on a sheet of paper during a conversation.
Always use content types (tables, headings, lists, etc.) according to their semantic purpose.
When properly structured, tables offer a range of functions, such as being navigated and read aloud via screen readers.
Creating a table in the Rich Text Editor
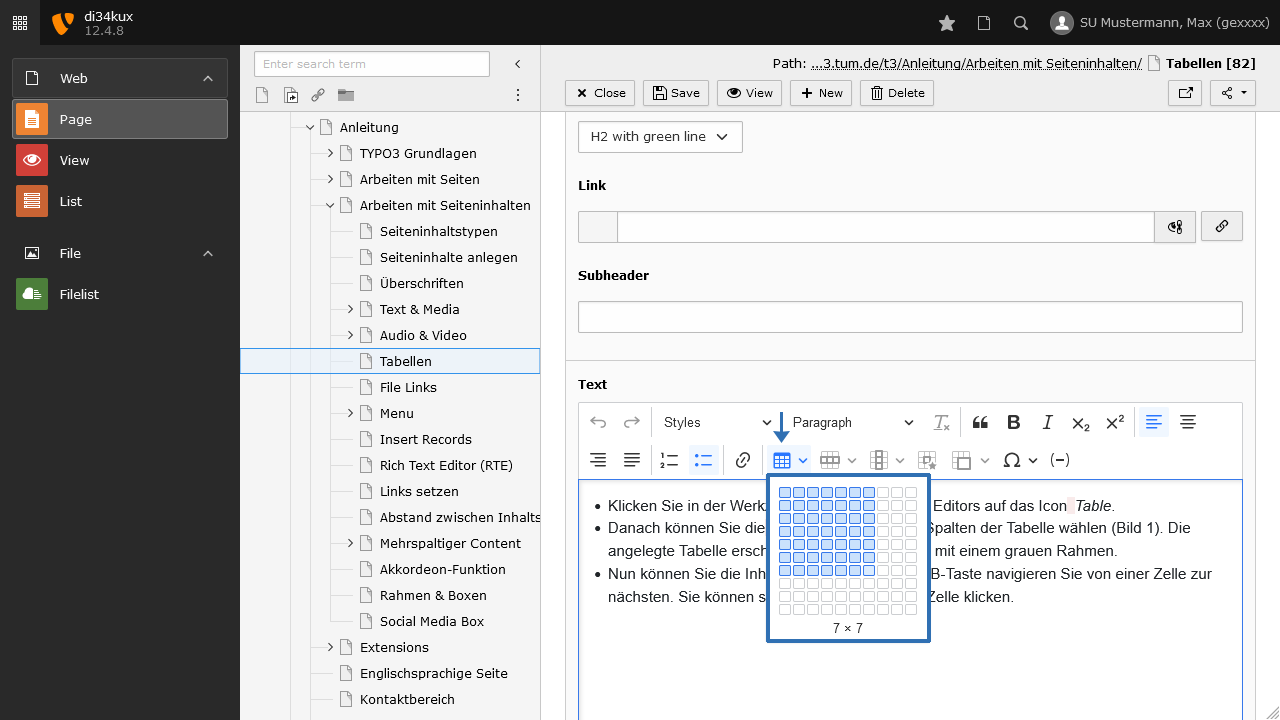
- Click the Table icon in the Rich Text Editor toolbar.
- Next, you can choose the number of rows and columns for the table (see Image 1). The created table will appear within the RTE with a gray border.
- Now you can insert the content. Click inside each cell.
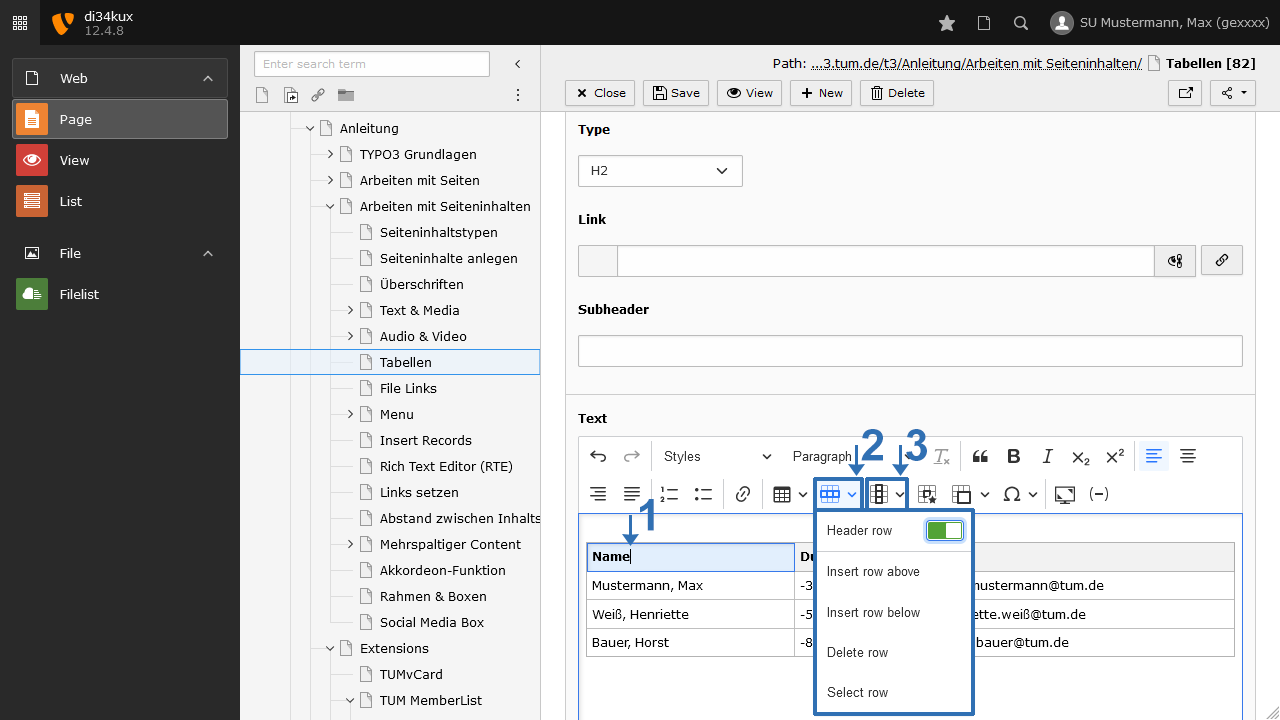
Most tables have a header row:
- Click in the first row of the table (Image 2 No.1).
- In the Rich Text Editor toolbar, click the Row icon (Image 2 No.2). Enable the Header row option.
- To give the header row a gray background, select the style Gitternetz (Grid layout).
- You can also add a header column to your table. In that case, click the Column icon (Image 2 No.3) and enable the Header column option.
Table styles
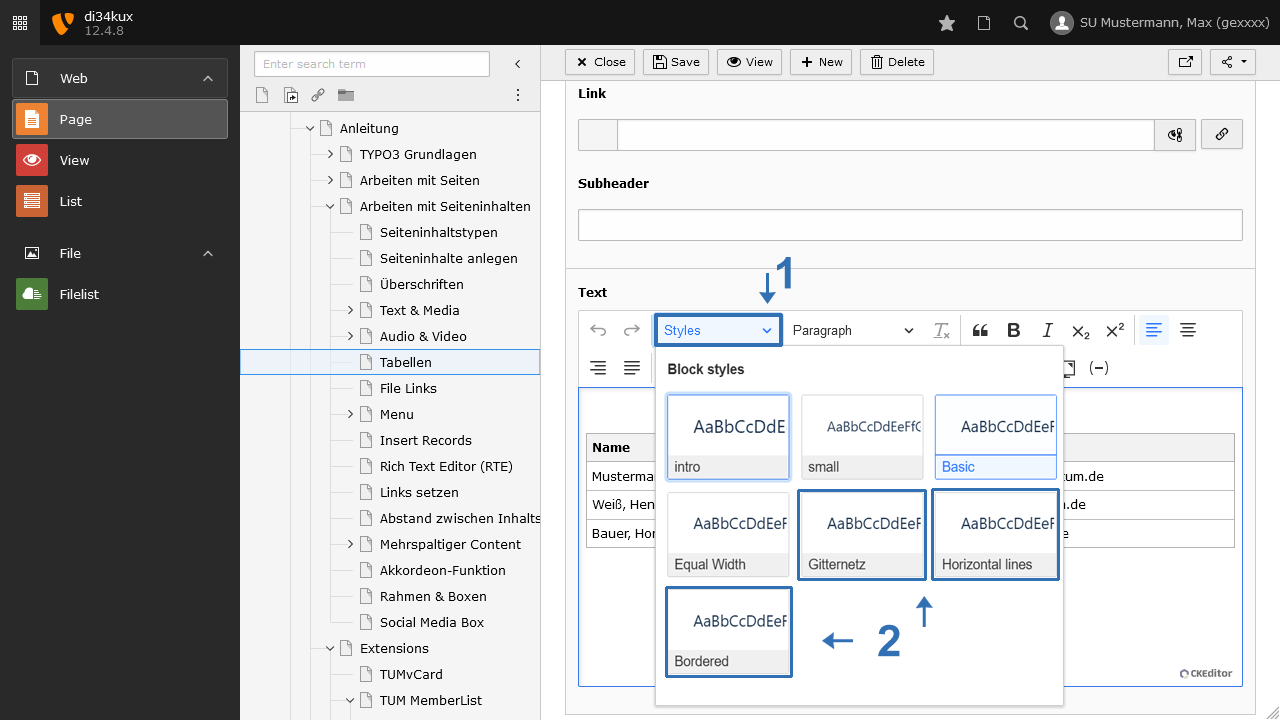
You can select and change the layout of your table through the "Styles" drop-down menu. Click inside the table and choose between:
In addition to the selected layout for the table, you can choose Equal Width. This will display the columns at the same width.
Defining individual column widths
The tables take up 100% of the available space. However, you have the option to influence the width of individual columns.
Always use the top cell of the column to define the width. This ensures that other editors working with the table can easily and quickly locate these specifications.
- Click in the upper field of the column whose width you want to define.
- Click on "Cell Properties" (Image 4 No.2). Here, you can set the width of the cell. By entering a number, such as 150, the column will be displayed at a width of 150 pixels.
Adding or removing rows / columns
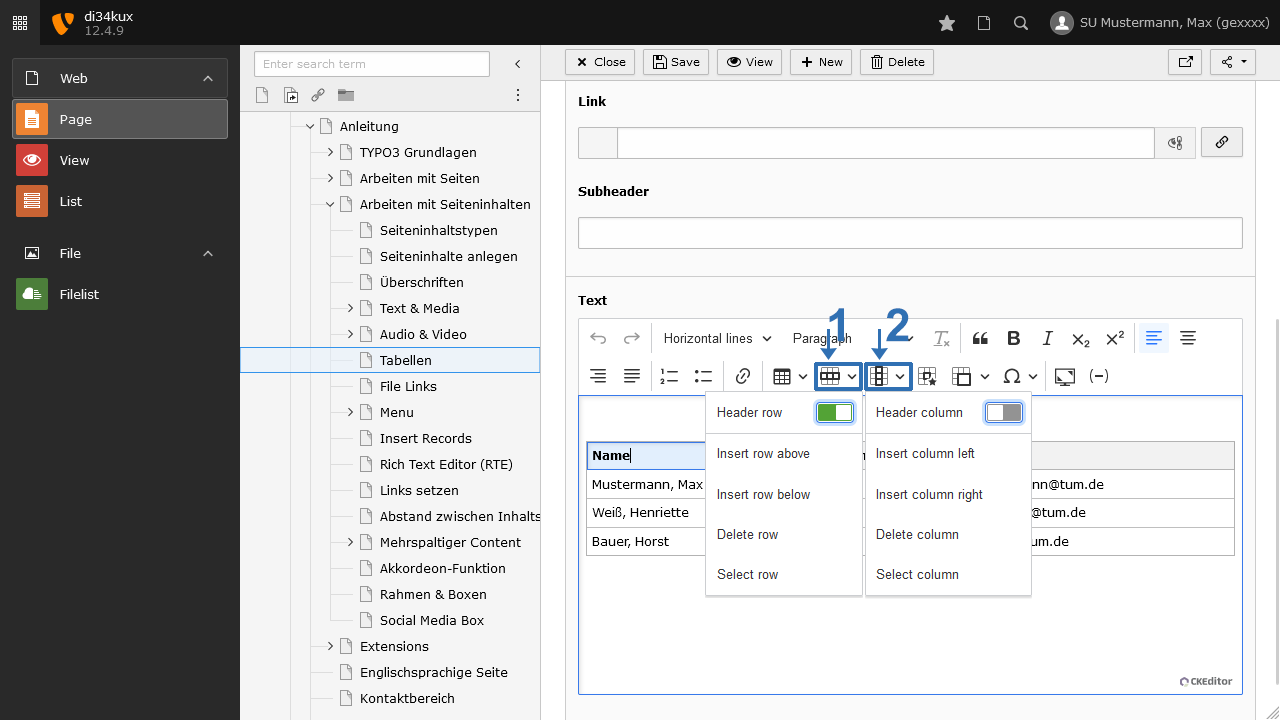
- Click on the row or column where you would like to add or remove a new one.
- For rows, click on the Row icon (Image 5 No.1), and for columns, click on the Column icon (Image 5 No.2).
- Select the desired action.
Merge or split cells
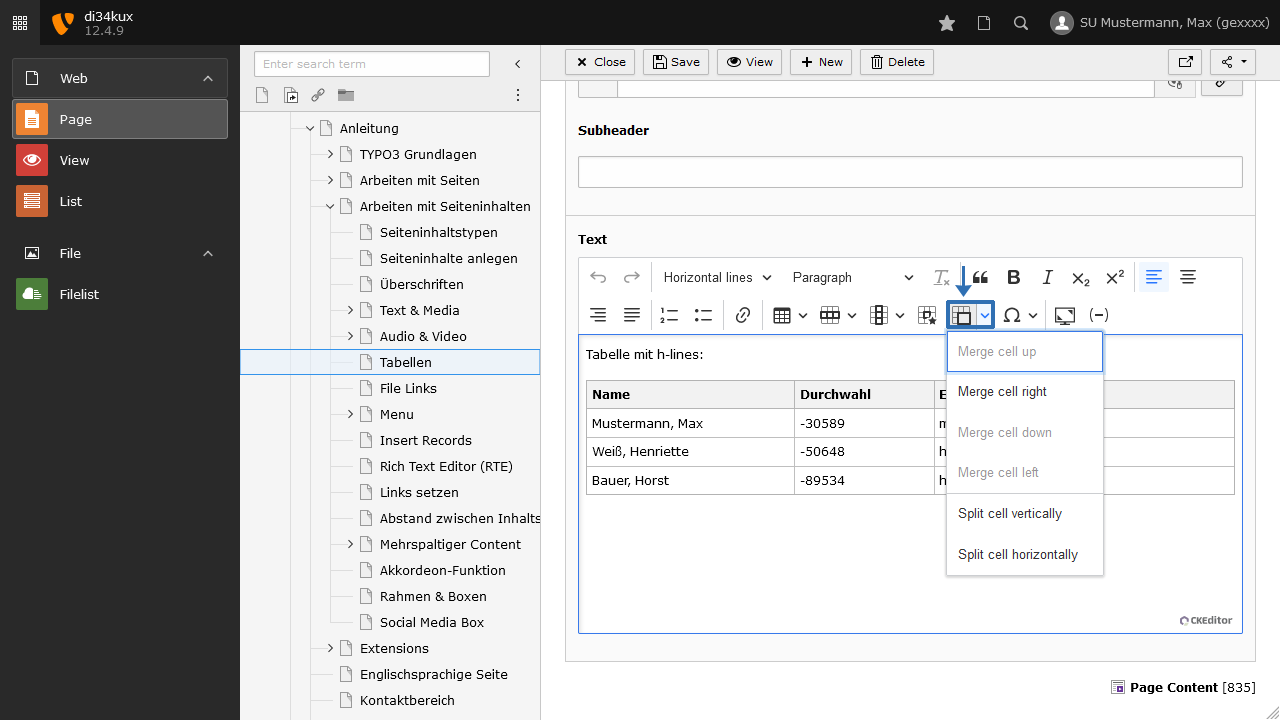
Using the Merge cells icon, you can also affect individual table fields:
- With the "Merge" command, you can combine multiple cells.
- The "Split" commands divide a cell into multiple fields without affecting the rest of the row or column. Merge or split cells.
Layout examples
There are three layouts available for tables: Gitternetz (Grid), Horizontal Lines, and Bordered. You can also display a table without selecting a layout (for example: Basic - no style).
Regardless of the chosen layout for the table, you can additionally select Equal Width. This will display the columns at the same width.
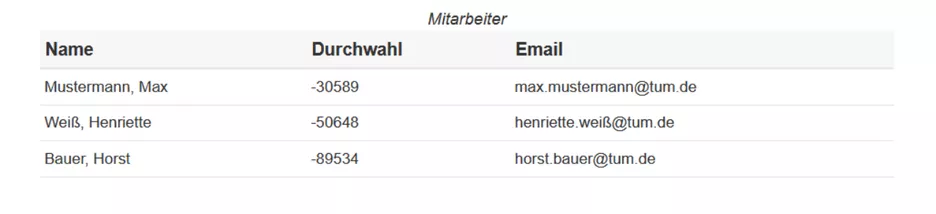
Basic
| Name | Direct dialing | |
|---|---|---|
| Mustermann, Max | -30589 | max.mustermann@tum.de |
| Weiß, Henriette | -50648 | henriette.weiß@tum.de |
| Bauer, Horst | -89534 | horst.bauer@tum.de |
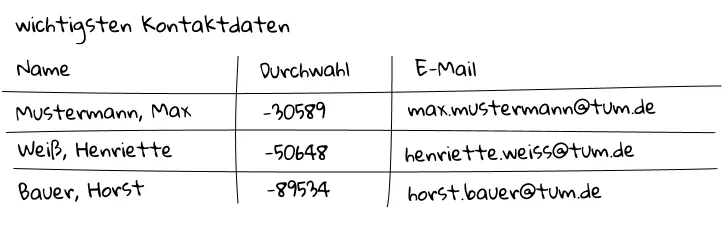
Gitternetz (Grid)
Table with grid and defined header:
| Name | Direct dialing | |
|---|---|---|
| Mustermann, Max | -30589 | max.mustermann@tum.de |
| Weiß, Henriette | -50648 | henriette.weiß@tum.de |
| Bauer, Horst | -89534 | horst.bauer@tum.de |
Horizontal lines
Table with horizontal lines:
| Name | Direct dialing | |
|---|---|---|
| Mustermann, Max | -30589 | max.mustermann@tum.de |
| Weiß, Henriette | -50648 | henriette.weiß@tum.de |
| Bauer, Horst | -89534 | horst.bauer@tum.de |
Bordered
Table with style bordered:
| Name | Direct dialing | |
| Mustermann, Max | -30589 | max.mustermann@tum.de |
| Weiß, Henriette | -50648 | henriette.weiß@tum.de |
| Bauer, Horst | -89534 | horst.bauer@tum.de |
Images and tables
In the Rich Text Editor (RTE), embedding images directly into a table is not supported. This works with the content element "Table".